
How to Choose the Perfect Photo for Your House Portrait
The first house I painted was my own. I don’t remember what inspired me to do it… we had built the house a few years before and I just started painting more “seriously”. I loved painting and I wanted to do more. I even had lofty ideas of making it my side hustle while home with our young kids. After painting our home, I was pleasantly surprised with how it turned out, so I started making more as gifts; my aunt’s house, my dad’s barn, my in-law’s cottage, etc. These all became lovely gifts and helped me learn how to capture a cherished memory through paint.
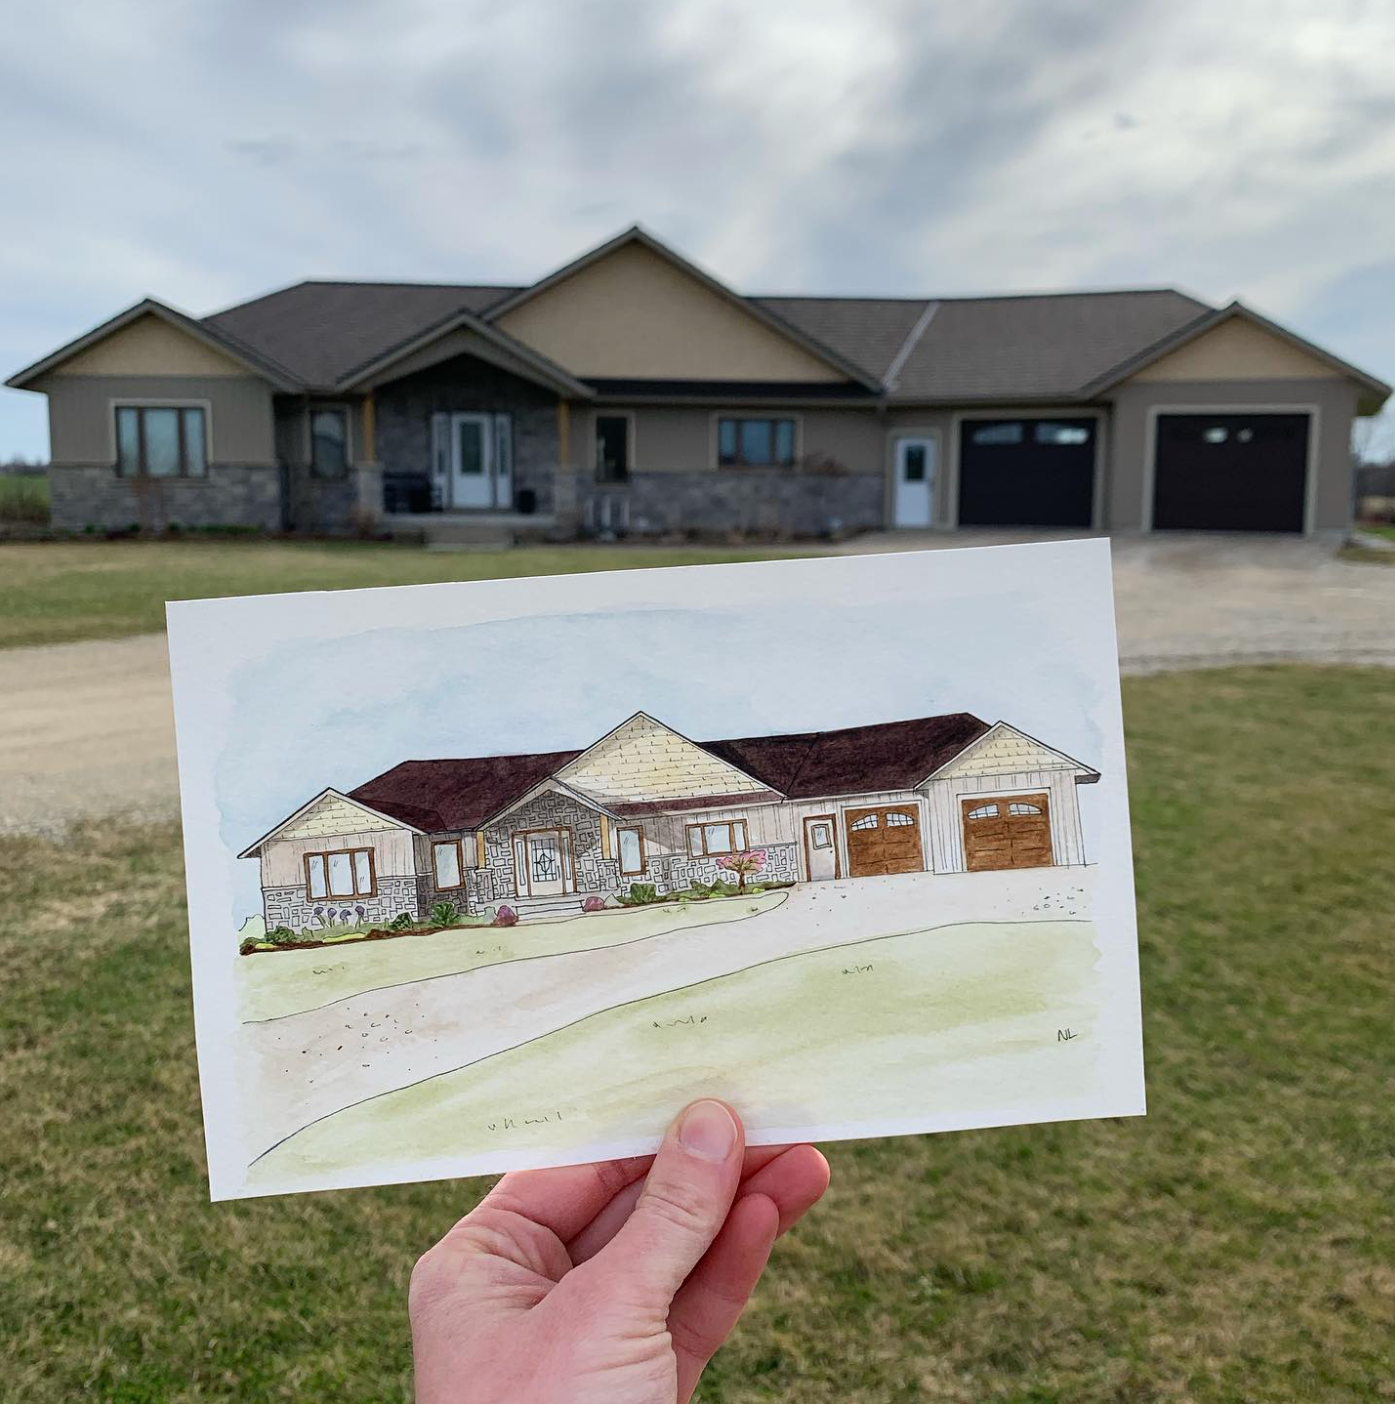
My first ever house portrait back in 2020. There’s certainly some things I would change if I were to paint this home again, but at the time I was pleasantly surprised by how it turned out!
I had a brief photography phase in my early twenties when I bought my first DSLR camera. I took a beginner photographer course to learn the basics of my camera and paired that with what I knew from high school art class about the elements of design (I didn’t realize how much that information would come back into my life!). There’s a lot one could learn about photography to get stunning photos, but you don’t need a fancy camera to get started. Our smartphones take wonderful pictures and are usually within arms reach, making them the most convenient option. Instead of worrying about all the details, consider it play or experimentation, whichever resonates with you.
Side note: both resonate with me and let me tell you why! I studied process based art-therapy for kids with disabilities in university where I learned the importance of creative outlet solely for the purpose of joy and experience rather than for the final product. Equally, I have my PhD and love research, so viewing art as experimentation helps me engage in more trial and error. What happens when I hold the camera/phone like this? What happens when I mix these colours? Most of all, it keeps art fun and life giving, which is definitely the most important part in my opinion.
With all that said, let’s get into some tips!

I love how this house turned out! The reference photo was from the spring, but they asked if I could paint fall colours behind the house, and it really makes this portrait stand out.
Lighting and Weather
I have different opinions on this one, so bear with me as I work through them. The lighting of your reference photo can cause your painting to appear three dimensional or flat. Soft, natural lighting is quite nice, opposed to very bright mid-day sun that casts harsh shadows. That said, I do like having some shadows because they add vibrancy and depth to your piece. Taking photos during 'golden hour'—the hour before sunset—often results in softer lighting and a more balanced contrast. The sun is not at its brightest, so it softens some of the harshness, but the shadows that are visible help distinguish different elements of your photo. For example, if taking a photo at golden hour, one wall will be flooded with beautiful warm sunshine, while the adjacent wall will be blanketed by cool shade. The result is a stark line of warm and cool colours that give depth to the image and interest for the viewer (see photo below)
As far as weather goes, you can make adjustments as you decide how closely to adhere to your reference photo. As in the photo above, I changed the trees from summer green to fall reds and oranges. Likewise, you can paint the sky however you want: fluffy white clouds, clear blue, etc. The only thing I would recommend is to paint your sky to match the lighting of your picture. So if you take a photo at mid-day and the shadows are all cast from the sun directly above, and then you paint a sunset sky (where the sun would theoretically be shining at a different angle), your final painting will not appear “right” to the viewer.

This was another “earlier” work of mine, and it demonstrates the lighting contrast I was talking about above. As you can see, the side wall on the left is brighter than the front face of the house because the “light source” (i.e., the sun) is shining from the upper left corner of the page. This helps the painting appear more 3D. There are also some shadows under the windows and eaves on the side of the house, whereas the lighting on the front is a little more flat.
Composition and Angle
The angle of your photo can completely change the way your house portrait looks. I tend to oscillate between two key angles: square (or face on, or flat) and three-quarter view. Three-quarter view is somewhere in the middle between the flat front view and a side profile. It allows you to see two sides of the home, typically the front and side (as opposed to the back and side) and gives a sense of depth, making the house look more three-dimensional and realistic. If you love a sense of symmetry and balance, a straight-on view can be a great choice, especially if the house has a striking front door or beautiful details.
It’s also important to consider what’s around the house. A well-framed photo that includes gardens, pathways, or surrounding trees can add charm and character to the final painting. If the house has a particularly picturesque setting—maybe a winding driveway or a beautiful tree-lined street—choosing a photo that captures these elements can make your portrait feel even more personal.
It is also important to consider a reference photo with as few distractions as possible, such as cars, garbage bins, toys out in the yard, etc. If I’ve been given a photo with those things, I ask permission from the individual commissioning the work if I can remove those things. It can be difficult to know what is behind anything large. I once had to remove a tree from the foreground of a photo that was blocking the whole corner of the house! I was able to use some of the alternate views to piece together what it looked like. Don’t hesitate to ask for more photos if you need them!
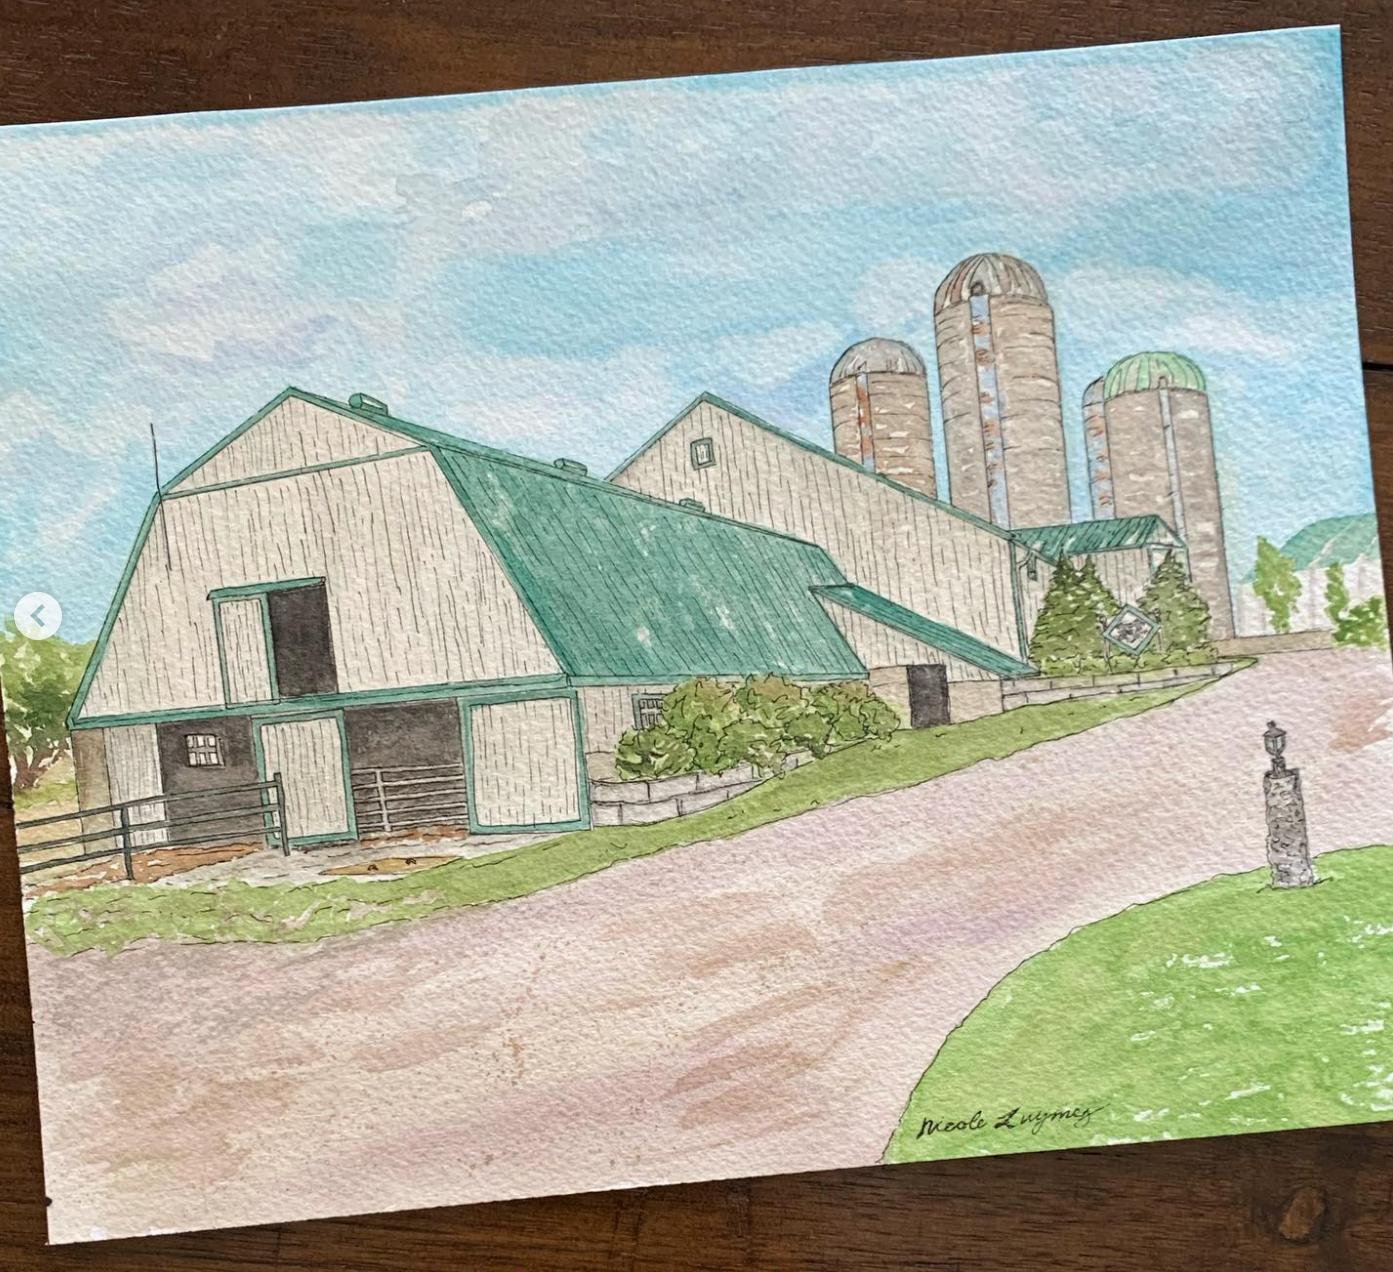
This is the barn at my parent’s place. It’s long and built into a bank, making it tricky to capture fully in a picture. I chose the three-quarter photo because it shows the elevation change and captures all the unique pieces of the barn. It was originally a bank barn and pieces were added on over the years by my grandfather, and this picture highlights them all.
Key Details to Highlight
When choosing a reference photo, high resolution is key. A clear, well-lit image makes it easier to capture all the little details that make a home unique—like the texture of brickwork, delicate trim, or a favorite porch swing. It’s so nice to zoom right in on an element of the home and see all the details you need to make your portrait. If the photo is blurry or pixelated, it can be difficult to recreate these finer elements accurately. I’ve also made portraits from very old photos where the details were hard to see. If it is a building that still exists, you could try to get a higher resolution of the building in present day, but paint it in the style/look from the old photo. Or you can Google images to find similar architecture and fill in the gaps yourself. Anything is possible! It might just take you a little longer :)
Look for a photo that highlights the home’s most distinctive architectural features (e.g., a large bay window, interesting roofline, bright shutters). These small details bring character to the final portrait, making it feel true to the house itself.

I was asked to paint this home by a friend of the family. She grew up in this home and her daughter recently bought the home and is raising her kids there. So much history in one photo! I chose an angled photo because it captured the ornate front door and balcony, as well as the sun room off to the right side of the home. I painted this home in the fall because the colours in the trees and grass complimented the warmth from the red brick and sienna door.
Editing Your Photo
Before using your photo as a reference, a few simple edits can make a big difference in how your house portrait turns out. Simple edits like adjusting brightness and contrast can illuminate lots of details, especially in photos that are too dark or washed out. A slightly brighter image will make it easier to see architectural features like window trim, brickwork, or decorative details on the porch.
Cropping is another helpful step. If there are distractions in the background—like a neighbor’s house, a parked car, or a cluttered street—cropping the image can help focus the composition on the house itself. A tighter crop can also emphasize the most important features, like a beautiful front door or a charming porch.
These small edits don’t have to be perfect, but they can make it easier to capture the home’s true character and ensure that the final portrait is as clear and detailed as possible!
Conclusion
Choosing the right photo takes a little effort, but it’s worth it to create a piece of art that truly reflects the beauty of the home. A well-lit, clear, and thoughtfully composed image will help capture all the details that make a house special—whether it’s the warm glow of a front porch light, the curve of a winding pathway, or the way ivy climbs up a brick wall.
Once you have the perfect photo, the next step is bringing it to life on paper! In my next post, I’ll be sharing tips for starting your sketch. I’ll also go over some watercolor techniques—like wet-on-wet for soft, dreamy skies and wet-on-dry for crisp architectural details—to help you create a house portrait that feels both artistic and true to life. Stay tuned!